How We Develop Mobile Applications - Pt 3 - iOS
Building a cheap prototype to validate design
Welcome back for the third post of our blog series on how we build mobile applications at Collective Idea. In the last installment we covered basic project setup. This time, we’ll discuss our first steps in fleshing out the application.
Note: If you haven’t read Part 1 and 2 yet, you might want to check those out first.
Fail Fast. Fail Cheap
Before we type a single line of code in our editor, we’re going to check to see if the designs from part 1 feel right, and if they’ll help us achieve our goal (to communicate who’s bringing donuts into the office).
We’ll do that by building the storyboard and hand testing the application flow.
The purpose of this exercise is to see how our design feels. By hand testing the application flow before any code exists, we can tweak the application’s design without the encumbrance of refactoring code. That’s failing cheap.
If this were client work, we’d put this semi-functional prototype in their hand ASAP. From there we could elicit feedback from them sooner rather than later. That way, if we’re building a product that’s straying away from the client’s vision, we can change course and keep the project within its budget.
Building From a Plan
To begin, check out the wireframes in part 1 of our blog post series. These wireframes tell us what we’ll need to build.
The wireframes describe three distinct views. First, a Welcome view. This view shows a user who’s bringing donuts today, and allows the user to show that they’re bringing donuts. The Success view shows the user that they communicated that they’re bringing
donuts. And finally, a Warn view notifies the user that there are already enough people bringing donuts.
Fleshing Out the Storyboard
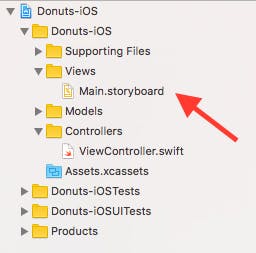
Open up the project in Xcode. Find the Main.Storyboard in the project navigator and open that.
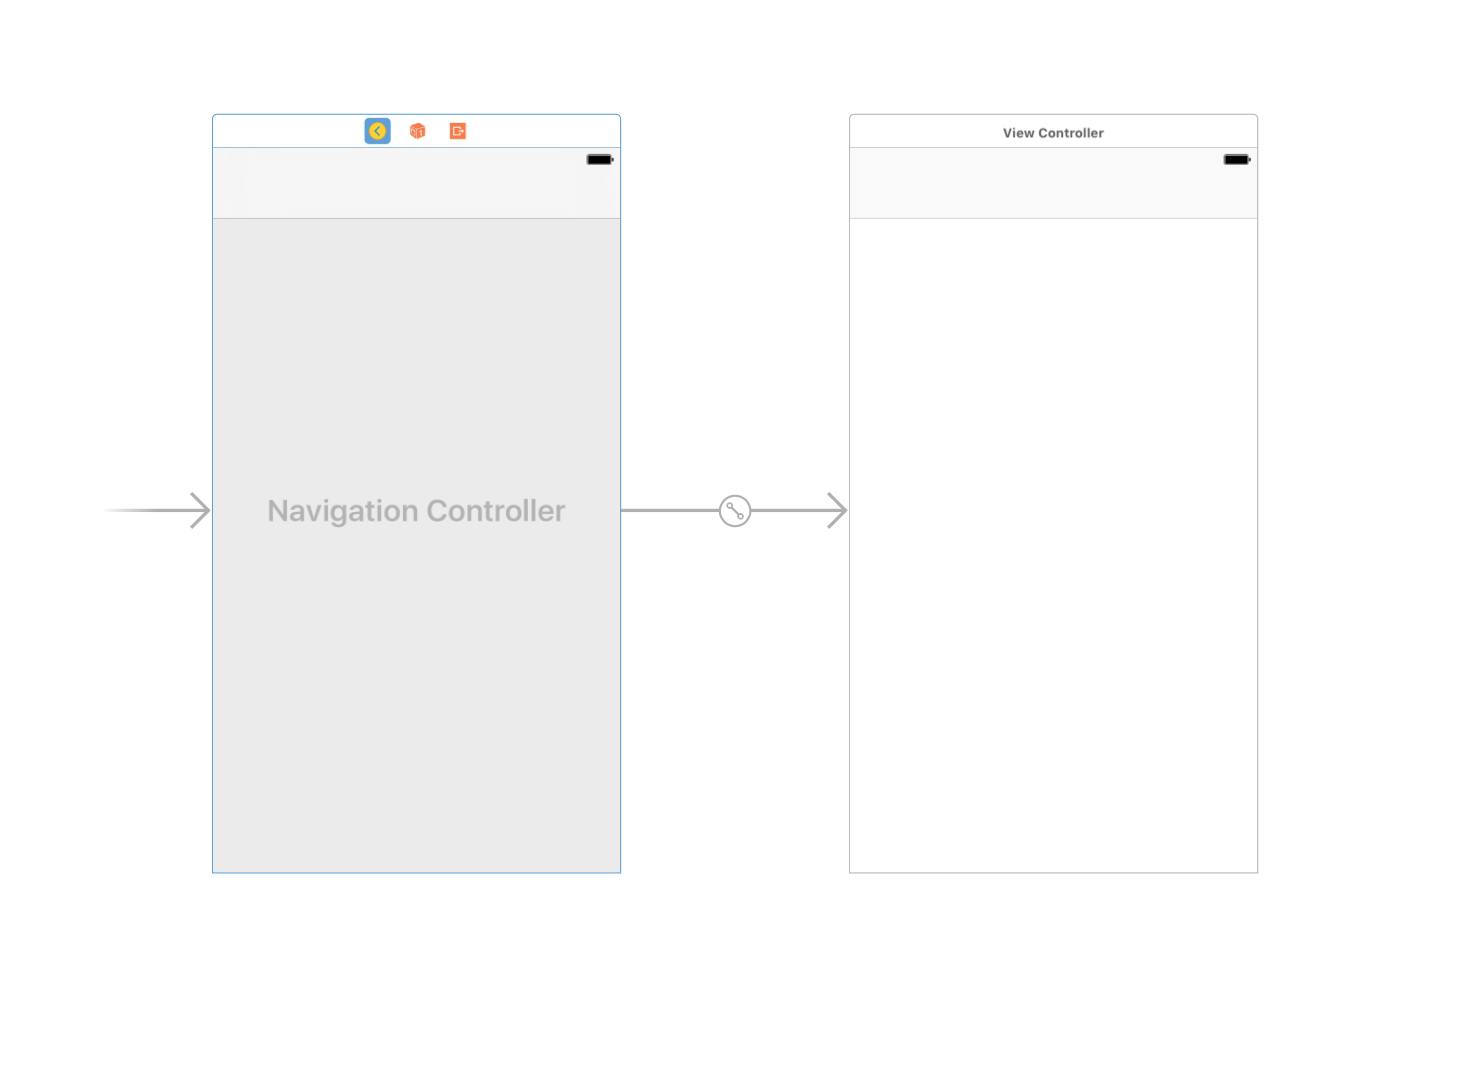
We’ll use a Navigation controller to handle the application workflow for this prototype. Click on the View Controller scene in the storyboard, then choose Editor > Embed in > Navigation Controller from the Interface Builder menu.
Now Interface Builder should look like this:
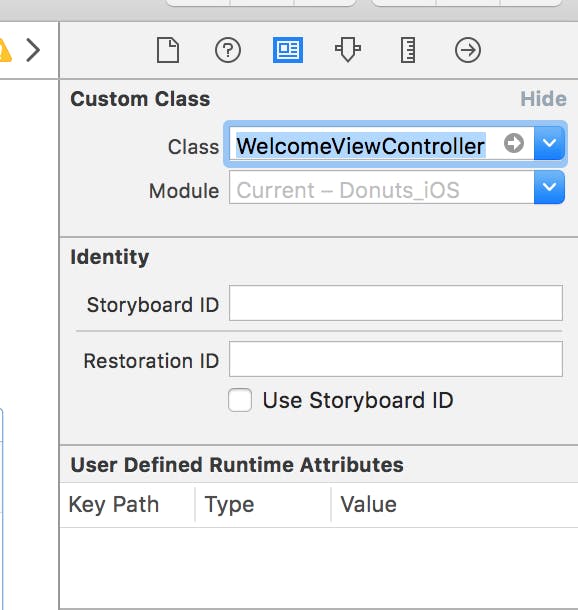
Now, find the file Donuts-iOS/Controllers/ViewController.swift and rename it to WelcomeViewController.swift. Open its contents and change the class name to WelcomeViewController. Then finally, open Main.Storyboard, click on View Controller and change the class to WelcomeViewController.
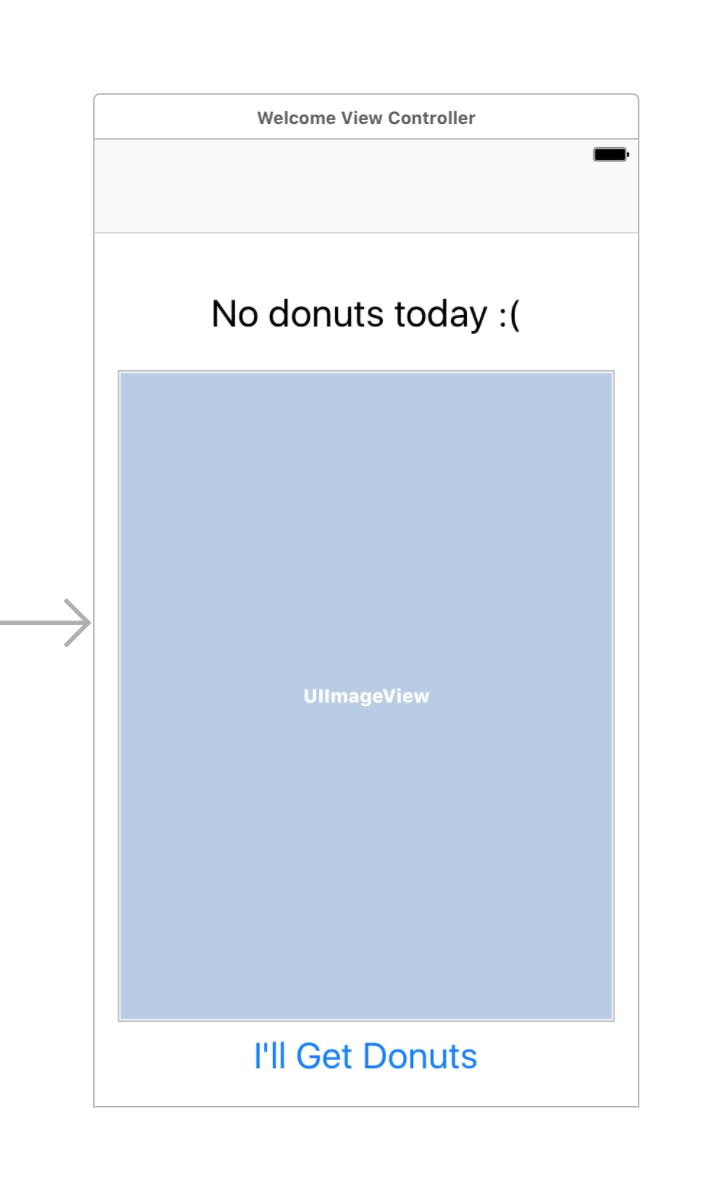
Then, add the WelcomeViewController’s elements: a UIButton, UIImageView, and UILabel.
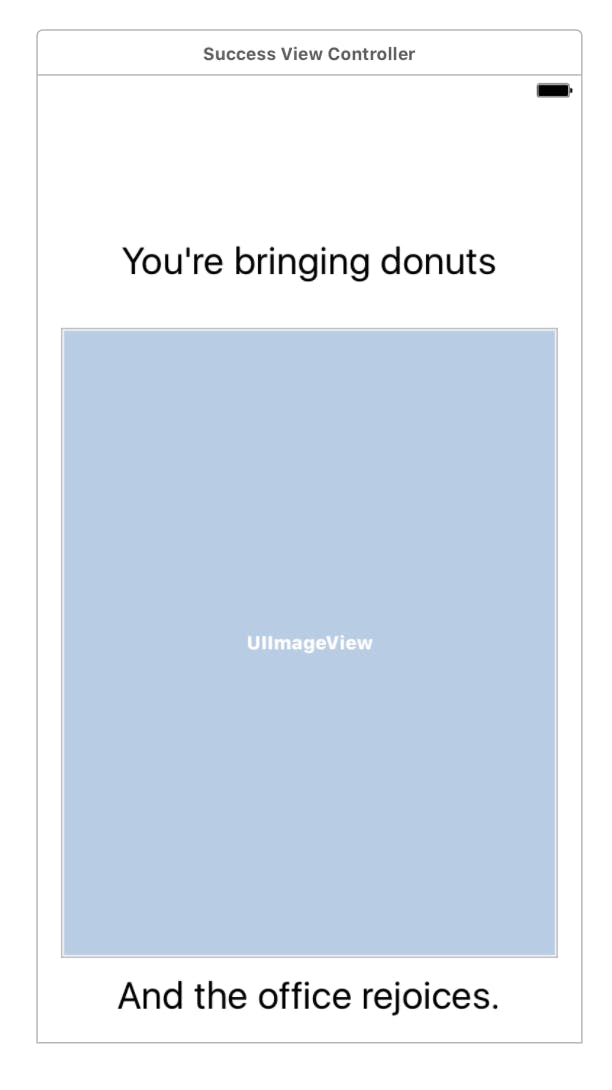
Click the WelcomeViewController scene in the storyboard, then copy/paste it. The Success scene uses a UILabel and UIImageView. Delete the UIButton, and the “add a new UILabel” at the bottom.
Add a new Swift file in the Controllers group named SuccessViewController.swift. Then change the class used by the Success scene in the storyboard to SuccessViewController.
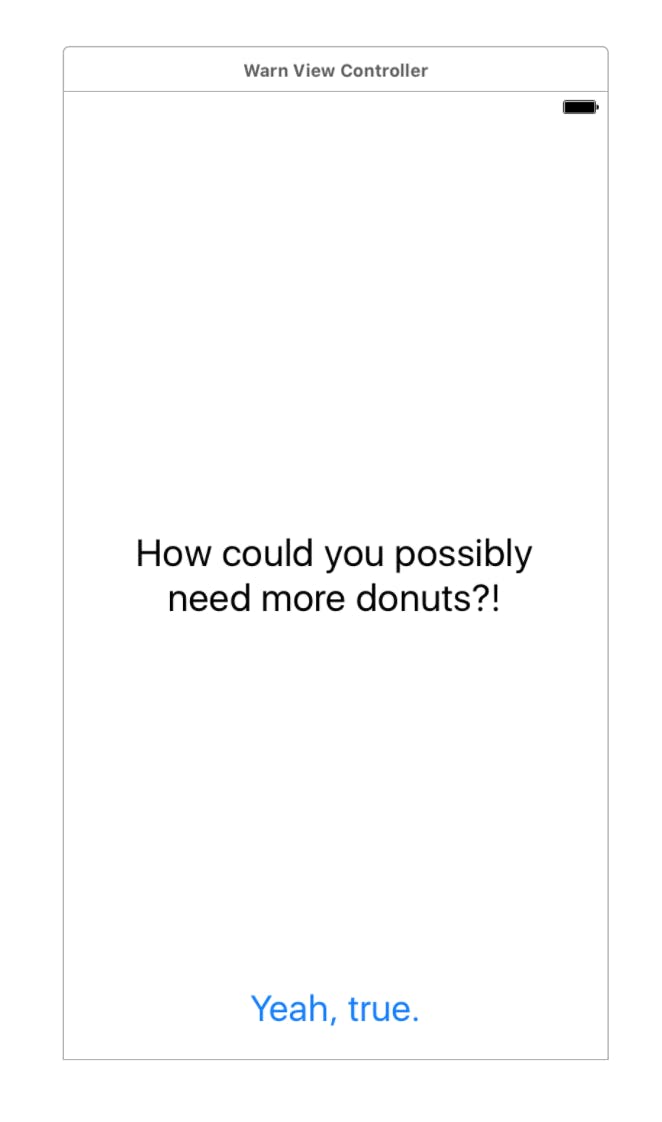
The last view we have to create is the Warn view. Copy/paste the WelcomeViewController onto the Storyboard. Remove the UIImageView, center the UILabelView, change its content, and then change the UIButton’s content. Add a WarnViewController.swift file, and change the scene’s class like we did with the other two views. It should now look something like this.
Connecting the Scenes
Our prototype is nearly done, but it’s still disjointed. We’ll add a segue to give it some behavior.
Press Ctrl click the “I’ll Get Donuts” button and drag your cursor to the Success View Controller. Choose Show from the Action Segue popover.
Trying it Out
Now, we can finally try the app out. Plug in your device, and press Command-R. This is where you’ll note what you like and change what you don’t like. Put it in other people’s hands and see what they think. Then, iterate until the app feels right.
To view other posts in this blog series broken down by OS, see below:
Both
Part 1 - How We Develop Mobile Applications - Best Practices
Android
Part 2 - Getting Our Environment Set Up for Android
Part 3 - Using TDD to build our models and API client
iOS
About Chris Rittersdorf
Chis has been interested in computers and programming since owning his first NES as a child. At Collective Idea, his expertise is in web and mobile development.
Comments
I have read your blog it is very helpful for us. I couldn’t find any knowledge on this matter prior to. I would like to thanks for sharing this article here. If anyone looking for the best mobile app development company in dubai, Visit top10dev.com