Ditch the AWS Service Dashboards for Terraform
Easily automate your infrastructure deploys with Terraform
Apple computer by Lee Campbell is licensed under CC0
Amazon improved their user interface for creating and managing their services quite a bit over the last year. Despite all of the improvements, there is a much easier way to manage your services on Amazon Web Services.
Terraform is a tool that allows developers to easily build and manage infrastructure. This post will demonstrate the minimum configuration that you need to get Terraform integrated into your project so you can start automating infrastructure deploys to AWS. For this example I integrate Terraform into a Python project that deploys the project’s code to a lambda function.
I’m assuming that at the very least you have an AWS account and some code that you want to run on a aambda. For this example the code being deployed to Lambda is in Python 2.7, but your project can consist of any language that Lambda supports.
The first thing to do is download Terraform.
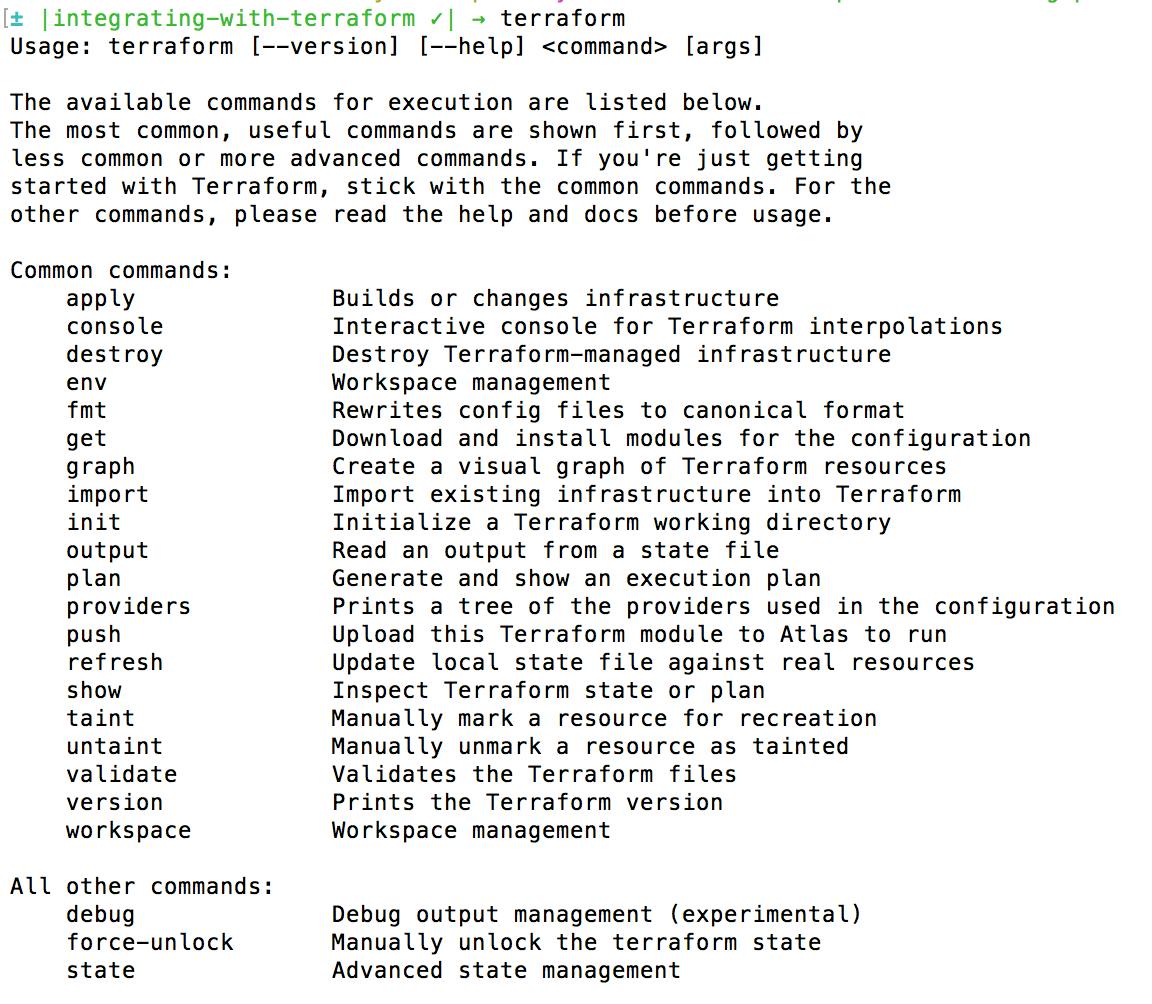
After you have Terraform installed you should be able to run Terraform commands from the terminal. Run ‘terraform’ to make sure it was installed correctly. If it was correctly installed you should see this output:
Before integrating Terraform into your project, you need to make sure that you have an AWS user account with the appropriate permissions set up.
Create a new user for your AWS account. Go under “Security Credentials” and click on “Users”. Add a new user and follow the directions. You will want your user to have ‘Programatic access’. Create a group that will have the AWSLambdaFullAccess and the IAMFullAccess policies and attach it to this user. When you get to the final step you will get to view the Access Key ID and the Secret Access Key for this user. This is the one and only time you will get to view your Secret Access Key so make sure you capture both IDs and save them somewhere secure like a password manager. We will be using these security credentials in a little bit.
If you do lose your security credentials for this user, or accidentally press close on the final step before capturing those values, don’t worry. Just click on the user and look under “Security Credentials” and delete that Access Key and generate a new one. This time remember to save it.
Now that your AWS account user has the appropriate permissions and you have the Access Key ID and Secret Access Key saved, you are ready to integrate Terraform into your project.
In the root of your project, create a file called ‘main.tf’. This file should contain the following code:
provider "aws" {
  access_key = "${var.aws_access_key}"
  secret_key = "${var.aws_secret_key}"
  region = "${var.aws_region}"
}
The provider is the platform that we are developing our infrastructure on. In this case that would be AWS. The other info we are supplying here is the Access Key ID, Secret Access Key, and the AWS region to deploy to. Right now those are being assigned from variables which have not yet been created. If you run ‘terraform plan’ right now the console would prompt you to enter in those arguments manually. Doing that every time you want to test or deploy your infrastructure is a waste of time. Let’s create a variables file to store these in.
In the root of your project create a file called ‘variables.tf’. This should contain the following code:
variable "aws_access_key" {
  description = "AWS access key"
}

variable "aws_secret_key" {
  description = "AWS secret key"
}

variable "aws_region" {
  description = "AWS region"
  default = "us-east-2"
}

variable "lambda_deployment" {
  description = "Local path of the lambda deployment .zip file"
  default     = "build/lambda_deployment.zip"
}
I have the default for my AWS region set to us-east-2. You can use whatever region makes sense for you. The last variable ‘lambda_deployment’ is the path to my zipped Python code. We will be using that variable in a little bit. For now you should modify that value to reflect the path where your code to be deployed is.
You should notice that the AWS Access Key and AWS Secret Key variables don’t have a default set. To make sure you don’t compromise the access keys, you need to create another file that can be added to your ‘.gitignore’.
In the root of your project create a ‘terraform.tfvars’ file which should contain the following code:
aws_access_key = "Your Access Key ID"
aws_secret_key = "Your Secret Access Key"
Obviously you don’t want to commit your Access Key ID and Secret Access Key to your repository, even if it is a private one. This file should be added immediately to your ‘.gitignore’.
Next step is to configure the Lambda function. Add another Terraform file to the root of the project called ‘lambda.tf’. This file should contain the following code:
resource "aws_lambda_function" "hello_world" {
  filename         = "${var.lambda_deployment}"
  function_name    = "hello_world"
  role             = "${aws_iam_role.iam_for_lambda.arn}"
  handler          = "handler.hello_world"
  runtime          = "python2.7"
}
The filename that specified is stored in the variable that was created earlier in ‘variables.tf’. If you didn’t configure that variable to point to the path where your zipped code is, do that now. I named this function “hello_world”, but you should name it something that makes sense for your project. Also make sure that the handler here matches the name of the handler that is in your zipped deployment. If you aren’t using python2.7, change that too.
Now we can add the final piece that is missing. Our Lambda function needs a role. No need to create that in the AWS IAM dashboard, we can also create and manage roles with Terraform.
Create another file in the root of your project called ‘iam.tf’. This file should contain the following code:
resource "aws_iam_role" "iam_for_lambda" {
  name = "iam_for_lambda"

  assume_role_policy = <<EOF
{
  "Version": "2012-10-17",
  "Statement": [
    {
      "Action": "sts:AssumeRole",
      "Principal": {
        "Service": "lambda.amazonaws.com"
      },
      "Effect": "Allow",
      "Sid": ""
    }
  ]
}
EOF
}
This is enough to start testing out your infrastructure. Run the command ‘terraform plan’ to see if everything is configured correctly. You may receive an error that says ‘Plugin reinitialization required. Please run “terraform init”.’ This isn’t a problem, just do what it says and run ‘terraform init’. This will add a .terraform folder to the root of your project. You should make sure that folder is added to your .gitignore file.
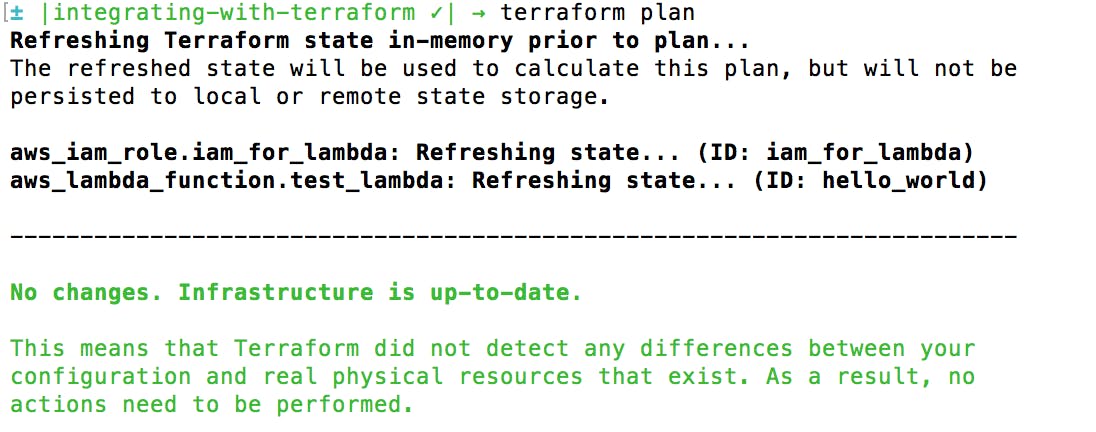
If ‘terraform plan’ didn’t find any issues, let’s deploy for real with ‘terraform apply’.

And now you have yourself a functioning lambda and didn’t even have to touch the Lambda dashboard! In the root of your project, Terraform created files called ‘terraform.tfstate’ and ‘terraform.tfstate.backup’. You will never have to modify these files and you should not delete them. Whenever you make new changes to your infrastructure and run ‘terraform apply’, these files will update automatically.
You no longer need to ever make infrastructure changes by hand in the AWS UI again. Terraform has templates for every AWS service there is so you can quickly set up and deploy any service you need to integrate into your project. They are also really good about staying up to date as AWS continually adds more services and makes improvements to existing ones.
Integrating Terraform into your project will save you time and frustration. If you have a project that utilizes multiple different services, being able to configure and validate the setup of the project’s architecture simultaneously is a lifesaver.
About Kyle Magnuson
Kyle first became interested in programming after taking engineering classes in high school and enjoyed working on both Android and iOS apps for Hope College. Soon after graduating from Hope, he came to work for us despite the allure of returning home to his native Chicago-land.
Comments
Nice Blog,Thanks Blogger for sharing these information…https://www.techugo.com/iphone-application-development.php
Thank you!